
Maintenance
There are always measures we can and should take to keep our instruments in as good a condition as they can be, and to prevent them from needing expensive repairs. Good maintenance stops avoidable costs and allows us to get the best from our instruments when we are playing them. See below some guidelines on maintaining your instrument.
P.S. There will always be matters that fall into the unavoidable category, and we will be there to help you out if this happens to you.
Oboe
Before getting your oboe out of its case, make sure it’s on a flat stable surface. With clean dry hands, carefully put your instrument together. Using excessive force during assembly is a prime cause of bent keywork, so use a small amount of cork grease if the joints feel tight. Try not to twist the joints more than a few millimetres when putting them together, as over twisting can also cause bent link keys and torn G# pads.
From time to time, clean off old, sticky grease from the tenon corks using a soft cloth and apply fresh grease.
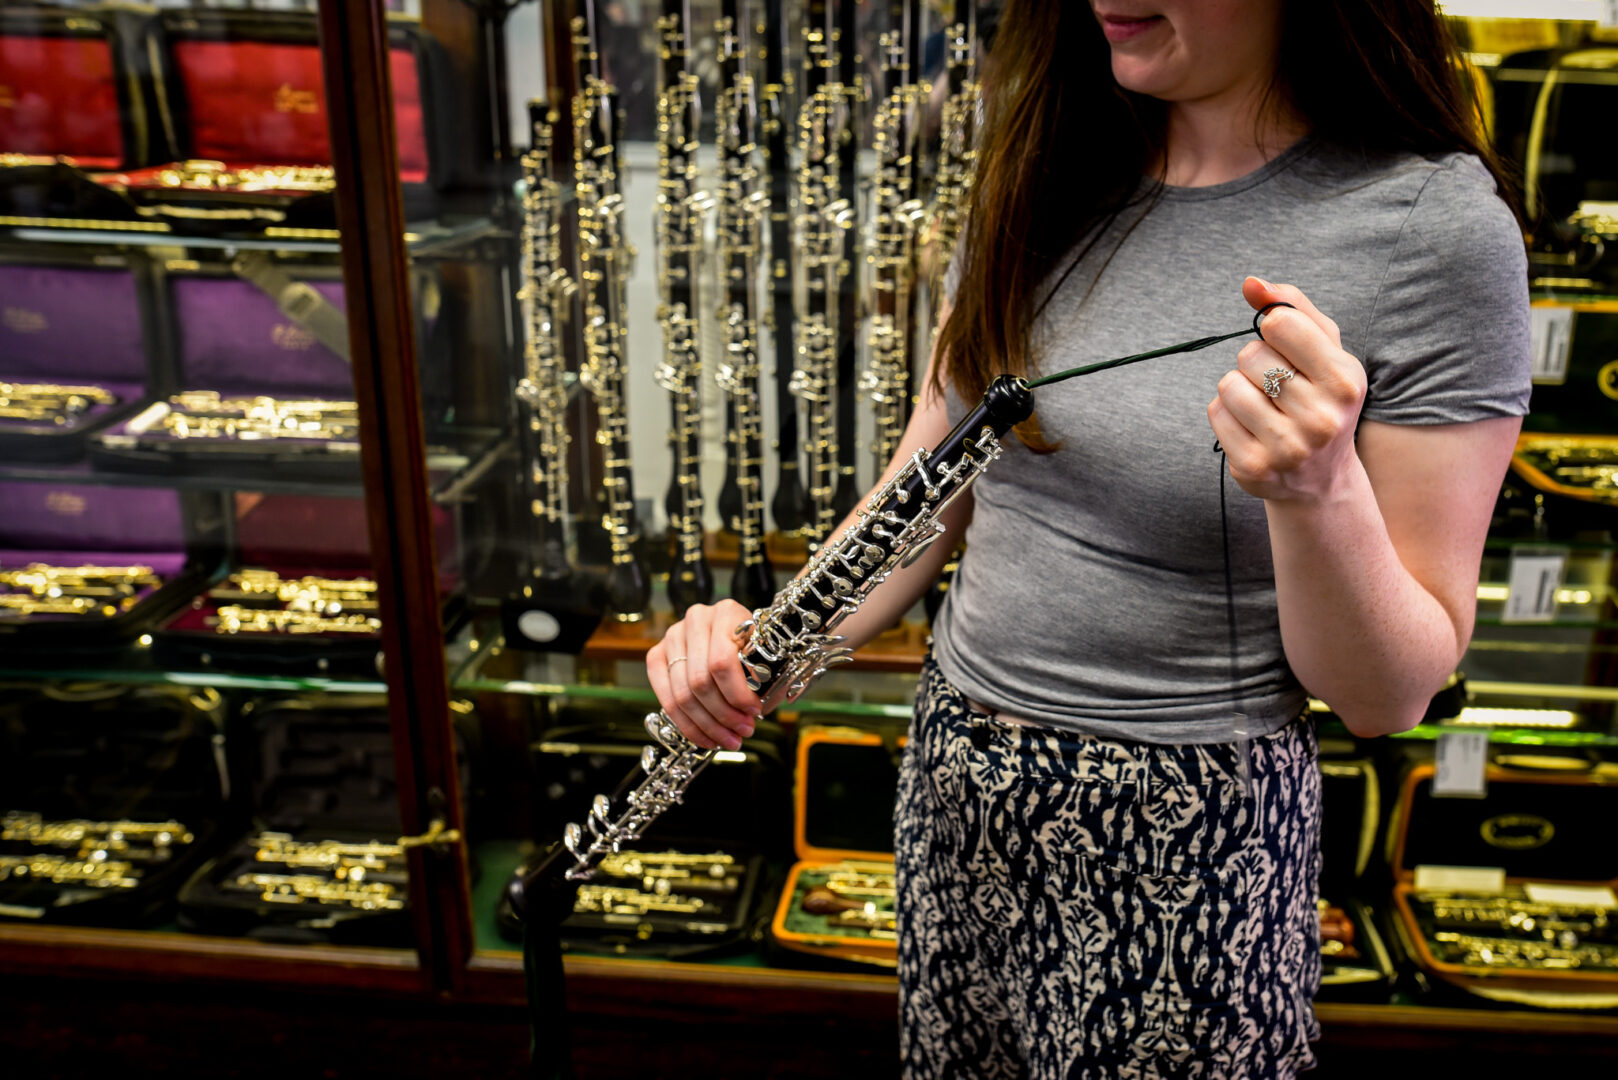
After playing, clean and dry your oboe’s bore with purpose made mops or a pull-through swab. If using a pull-through, check that there are no knots in it that may become stuck in the bore before use. Pull through from the bell end to the reed socket. If you feel any resistance do NOT just pull harder! The bore is smaller at the top than the bottom, so tugging harder will just wedge the cloth into the instrument more firmly. Instead, use the other end of the swab to withdraw the pull-through from the bell.
Use a microfibre cloth to gently wipe over the keywork to dry off any moisture from your fingers before putting your oboe back in its case. Don’t leave it out on a stand where it’ll get knocked over and damaged. Also, moisture trapped in an instrument left on a stand for extended periods without being dried may cause the tenons to swell causing the joints to become stuck together.
Don’t eat or drink while playing! Spilt drinks and crumbs are not your oboe’s friends.
Don’t store your instrument in very cold or very hot environments. Rapid changes of temperature or humidity can cause wooden instruments to crack. If your oboe gets cold, allow it to warm up gently to room temperature before blowing warm, moist air down it.
Resist the temptation to oil your instrument’s bore or keywork mechanism. Excessive oiling can cause a build-up of dirt in tone holes and damage pads, creating more problems than not oiling at all. Your technician will take care of oiling as necessary when your instrument’s serviced.
Remember, at Howarth of London we’re here to help. If your instrument develops a problem, call or email us. Whilst there’s often a waiting list for full services, we can usually accommodate minor repairs at short notice.
Bassoon
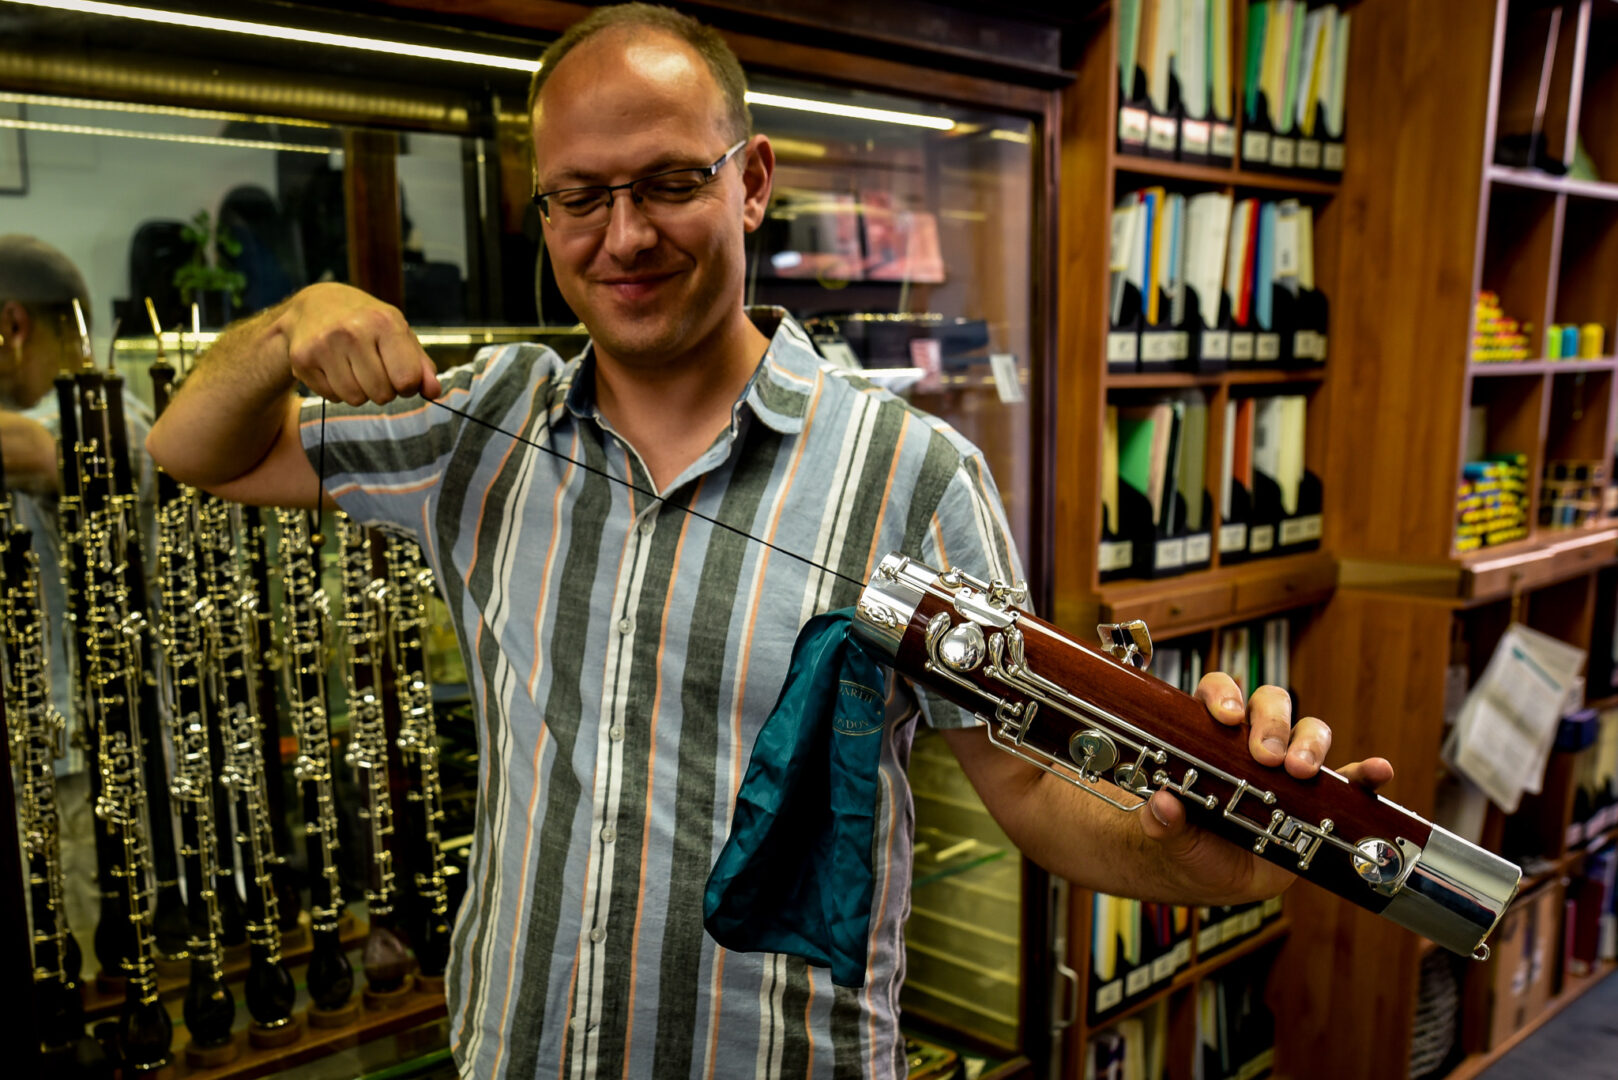
After playing your bassoon, remove and blow through your reed to remove excess moisture before storing in a well-ventilated reed case and then blow out any excess moisture from your crook. Use a boot swab on your boot joint and wing swab on your wing joint, making sure you have the right sized swabs for the joint, and always starting from the larger aperture pulling through to the smaller aperture. If your swab gets stuck, come and see us to have it removed. Trying to force it out, especially with tools, rarely ends well, and at worst, can damage the bore of your instrument. Moisture can cause damage to bassoons, ruining pads, tone holes, and potentially rotting the wood of your instrument. Use a microfiber cloth to remove any moisture from the outside of the instrument, which can ultimately lead to cracks in the wood, and to remove natural oils and sweat from the keys produced by your hands, which can cause your plating to tarnish.
Before playing, wash your hands, brush your teeth and try not to snack while you play! Use cork grease lightly on the tenons to make it easy to assemble your bassoon. You do not need cork grease if your tenons are threaded! Try to clean dirt from your instrument’s tone holes using a cotton bud. Dust can collect there causing problems with intonation. Keep your swabs clean, as using a dirty swab defeats the purpose of cleaning! If you live in a hot or dry climate, oil your keys three or four times a year using small drops of key oil to your instruments’ rods. Do NOT over oil. One drop per rod should suffice. If you do not live in such a climate, you do not need to oil, and this should be done by technicians whilst servicing your instrument.
Clarinet
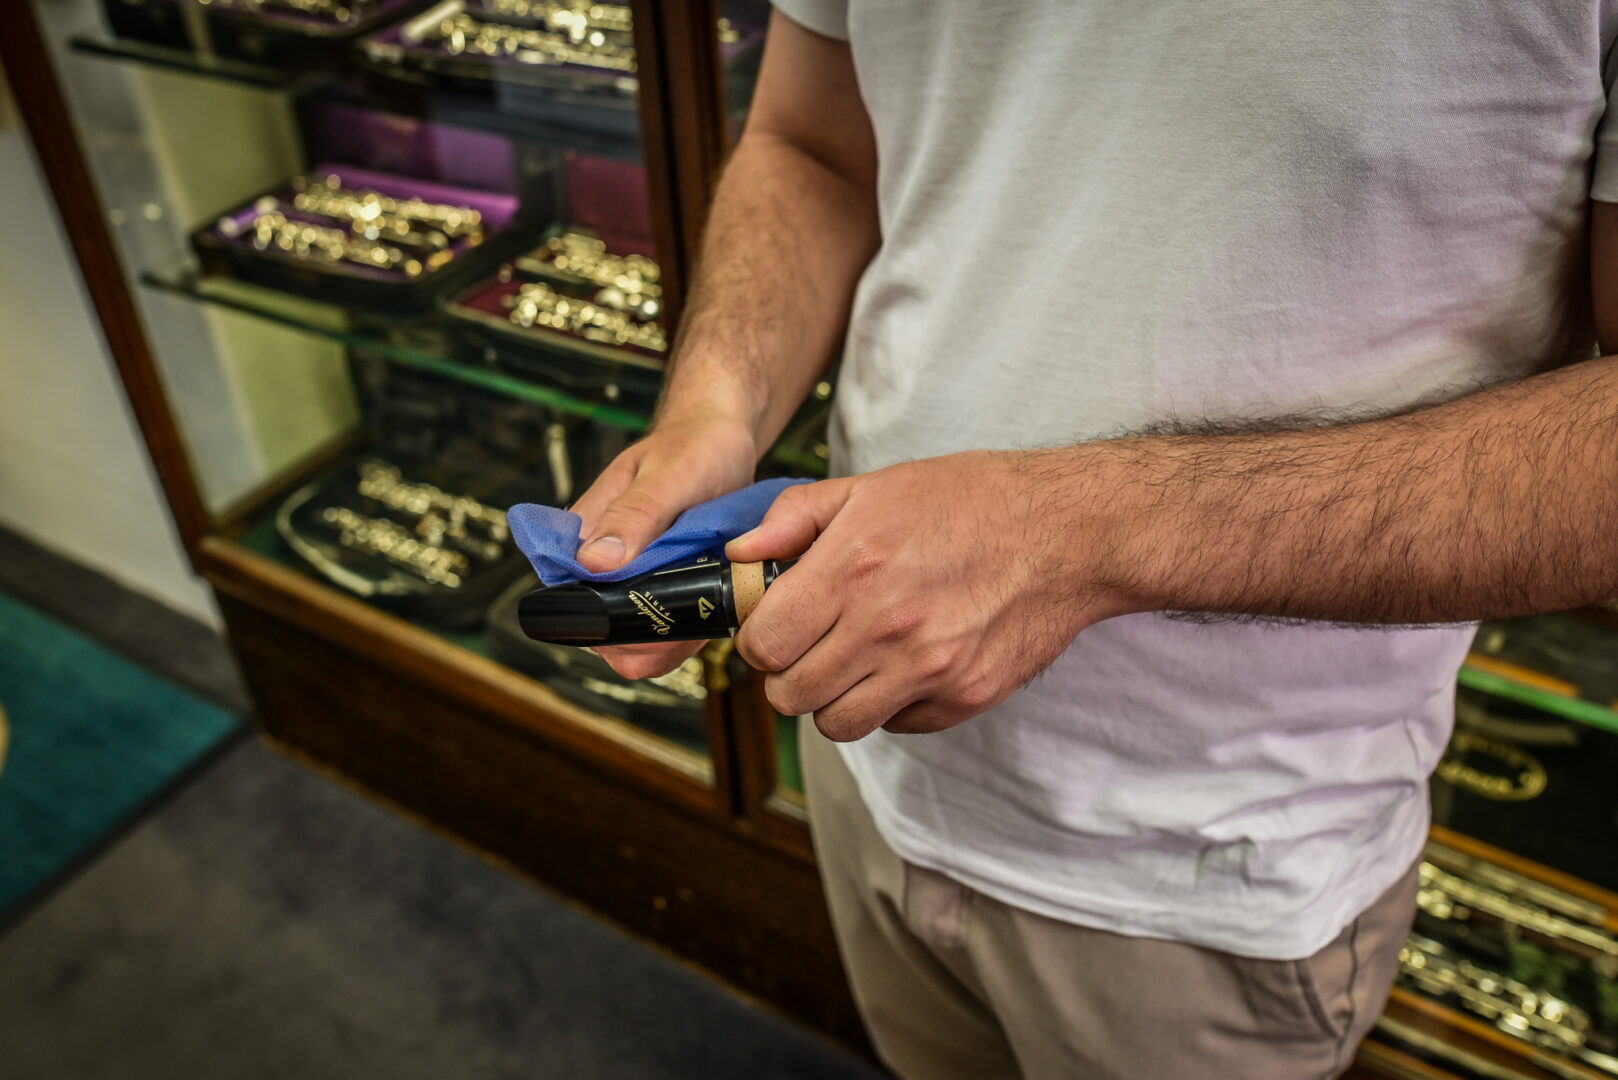
After playing your clarinet, remove the reed and mouthpiece and use a swab to clean your instrument from the bell at the bottom to the top, this will lessen the risk of problems occurring. Then use the swab to clean each joint individually (apart from the mouthpiece which could cause damage due to the small size of the aperture; you will need a smaller swab for this). Use a microfiber cloth to remove any moisture from the outside of the instrument. Use the cloth to remove natural oils and sweat from the keys produced by our hands, which leads to tarnishing to your plating.
You might also clean your mouthpiece occasionally using a mild soap and lukewarm water, and a non-abrasive tool such as a cotton bud.
Wash your hands and brush your teeth before playing and try not to snack while you play! Use cork grease lightly on the tenons to make it easy to assemble your clarinet, using too much can also weaken the glue. Try to clean dirt from your instrument’s tone holes and rings using a cotton bud. Dust can collect there causing problems with intonation. Keep your swabs clean, as using a dirty swab defeats the purpose of cleaning! Oil keys three or four times a year using small drops of key oil to your instruments’ rods. Do NOT over oil. One drop per rod should suffice.
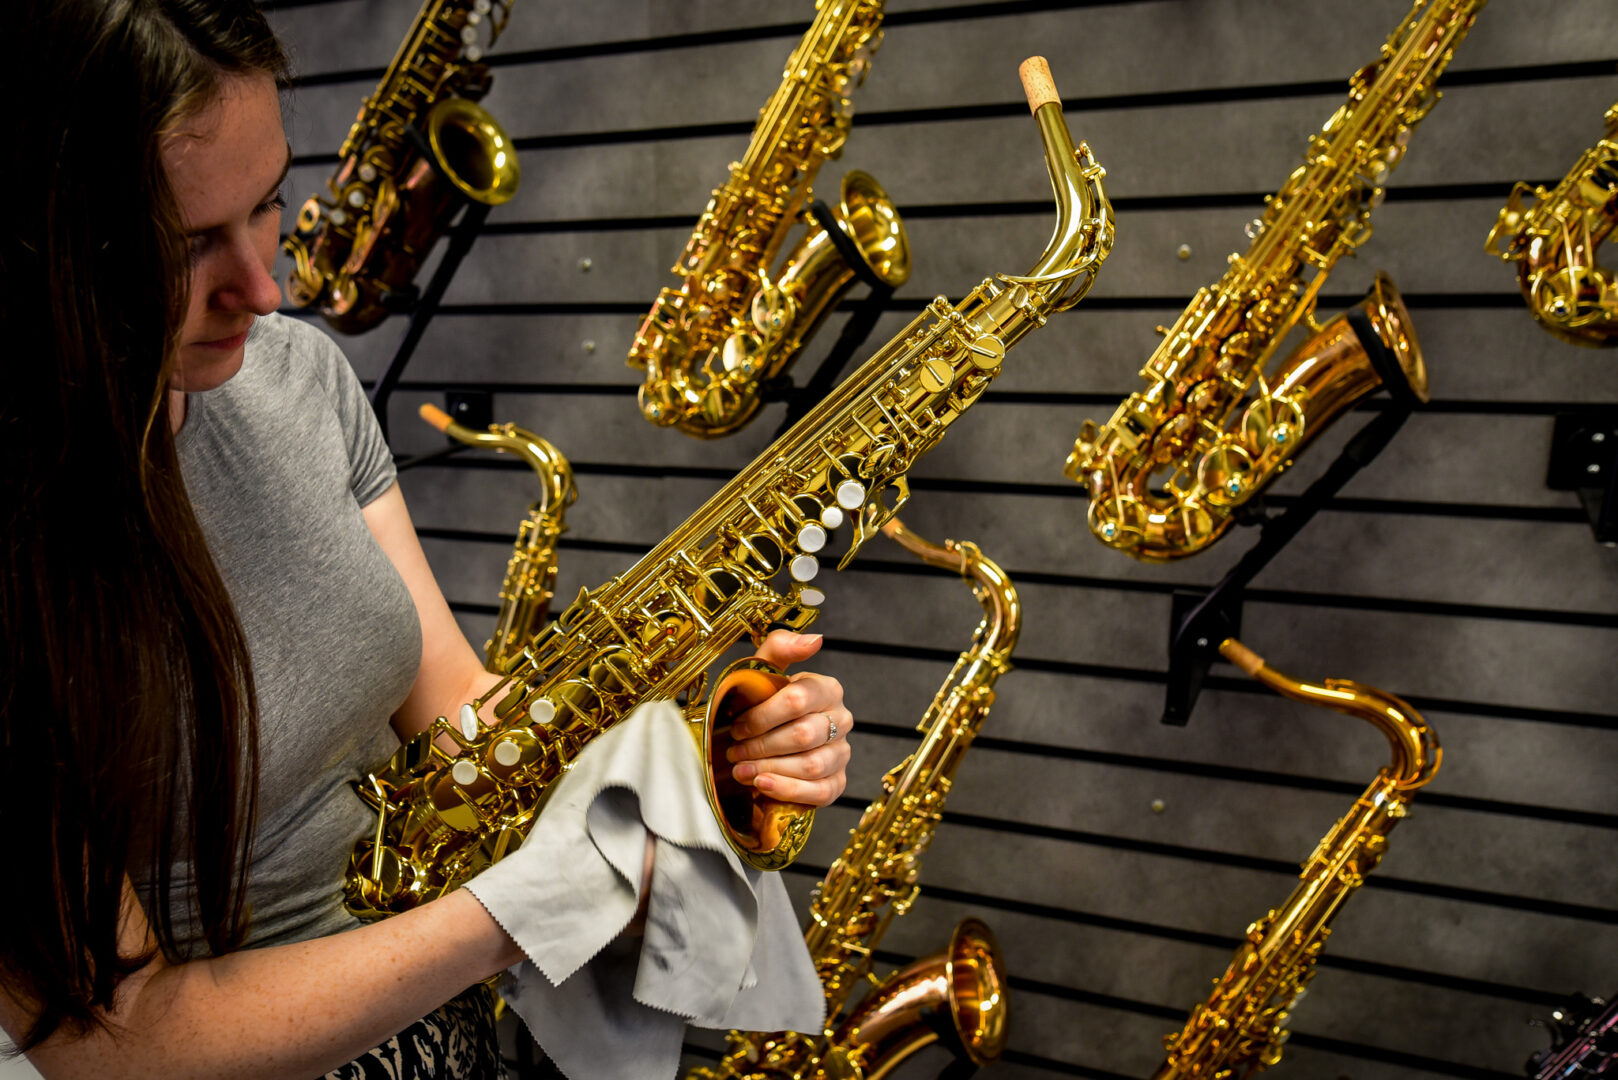
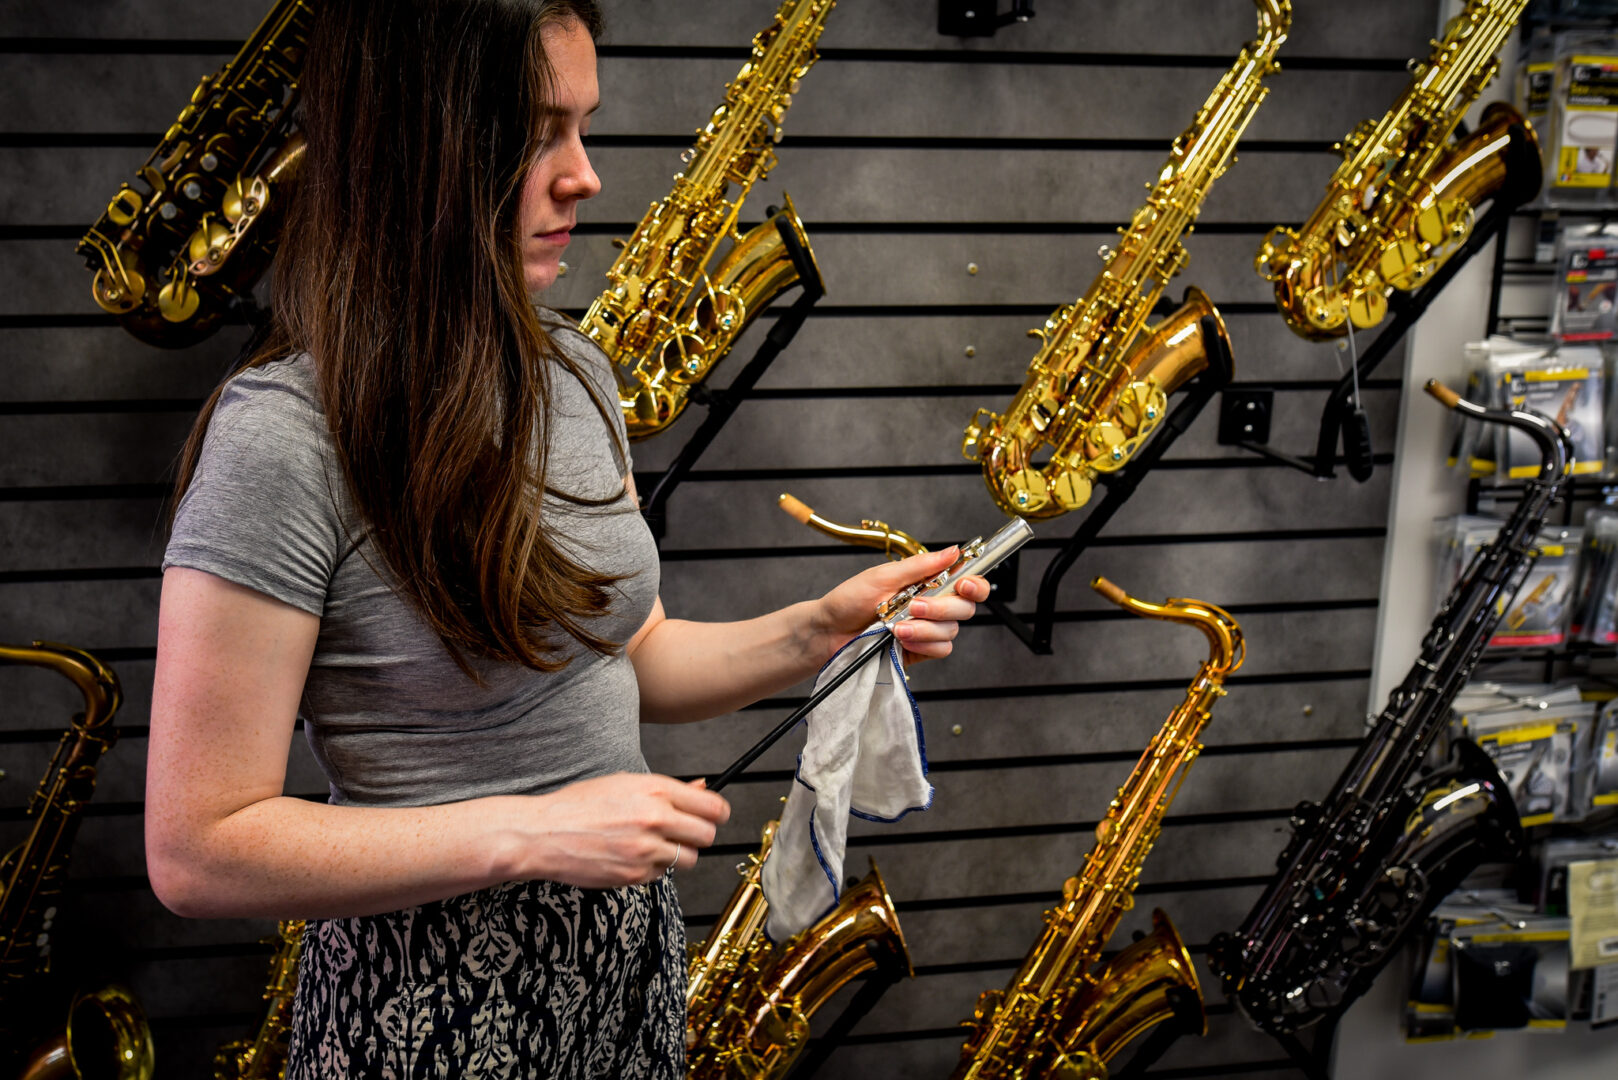
Saxophone
After playing, always clean the inside of your sax from the bell to the top with a pull-through/swab. Hold the sax by the bell to avoid putting any pressure on the mechanism which can cause problems with your sax. The bell section is usually the driest part of your sax, so by pulling a swab through from bell to top you will avoid spreading moisture through the whole instrument. Use a smaller swab to pull through the neck and mouthpiece.
Wash your hands and brush your teeth before playing and try not to snack while you play! Occasionally, use cork grease lightly on the neck cork to make it easier to put the mouthpiece. If you can leave the sax case open this will allow the instrument to dry thoroughly. If this is impractical for example after a lesson or gig, Key Leaves are a great accessory that can be used to prop open the pads that remain closed as a way to aerate the instrument and prevent the pads from sticking whilst it’s in the case. Keep your swabs clean, as using a dirty swab defeats the purpose of cleaning!
Flute
After you finish playing, always clean the moisture that has gathered inside your flute. Options for this include a cleaning rod with a lint free cloth or a pull through or a combination of both. A cleaning swab will clean the body and foot joint, but you will need a cleaning rod for the head joint. After drying the moisture from the flute, gently wipe the length of the body of the flute with a polishing cloth, taking care not to apply too much pressure to the mechanism and to avoid scuffing the pads.
Wash your hands and brush your teeth before playing and try not to snack while you play! You can use cleaning paper to dry pads if they have moisture on them and to gently remove any dust or dirt from the pads – avoid holding the keys closed and pulling the paper out as this will cause damage to the pads.